


PM 2.5 sensor with Raspberry Pi Python Tutorial
In this tutorial, we will show you how to make the PM 2.5 sensor work with Raspberry Pi board, and we will use python to read and display the PM 1.0, 2.5, 10.0 rates in terminal.
Step 1 Setup the Raspberry Pi
Check out this super quick video on how to setup the Raspberry Pi.
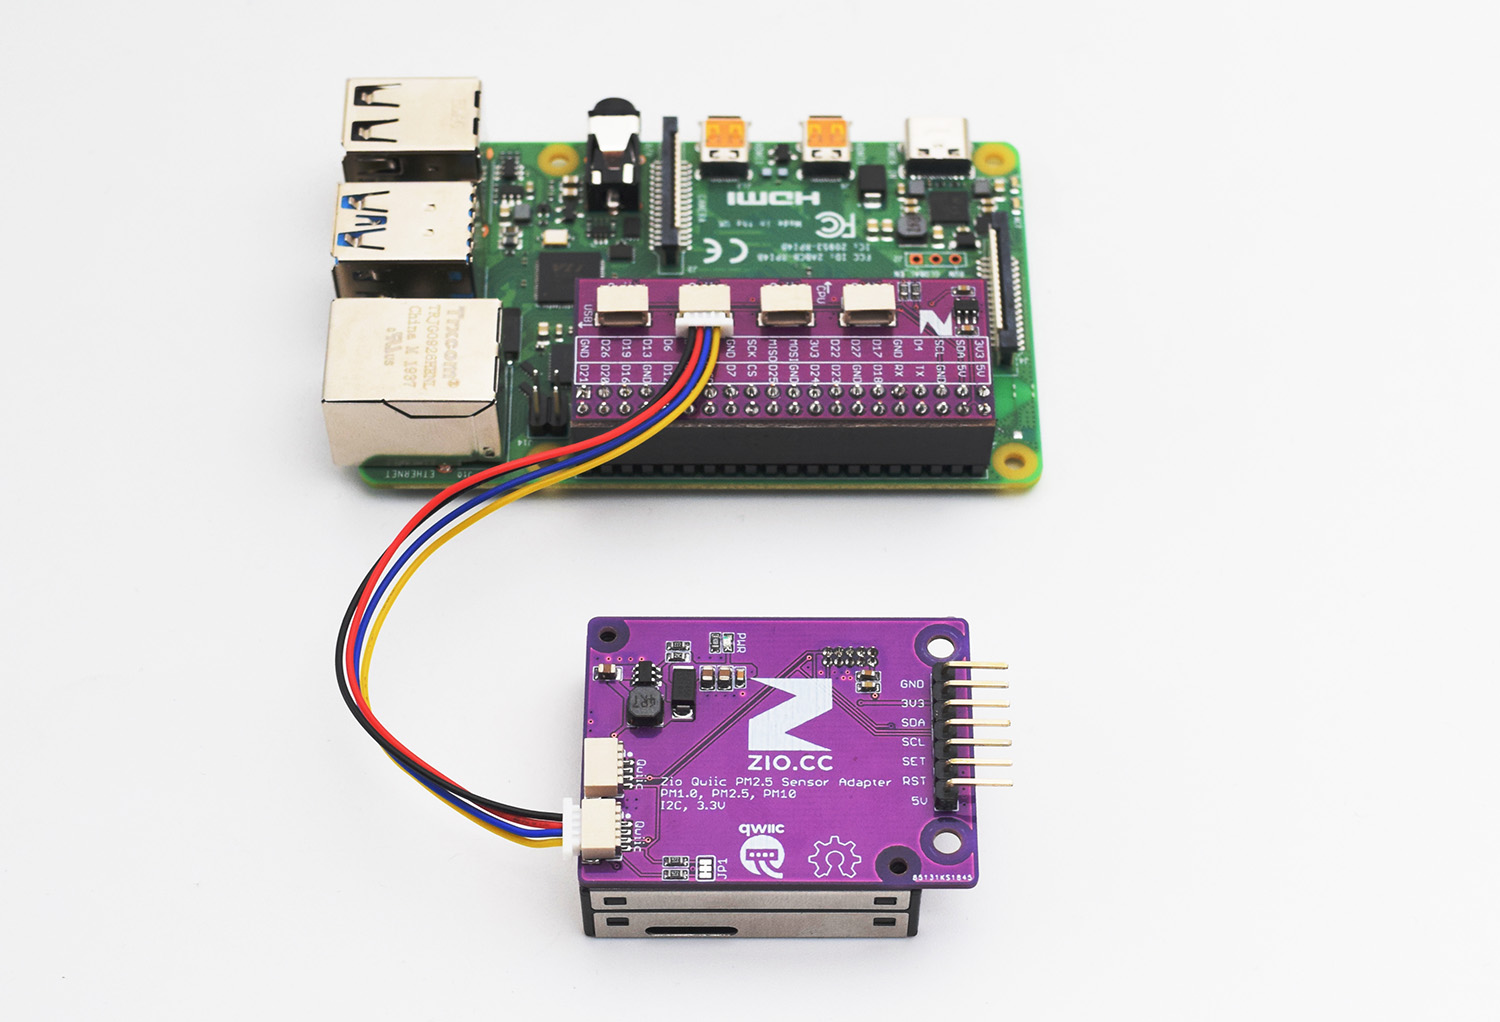
Step 2 Connect
Connect the Zio development board with PM1.0/2.5/10 Sensor to the Raspberry Pi via the ZIO QWIIC HAT.
Step 2 enable the I2C bus
Either from the Raspberry Pi’s desktop or via SSH, Open the terminal and type in:
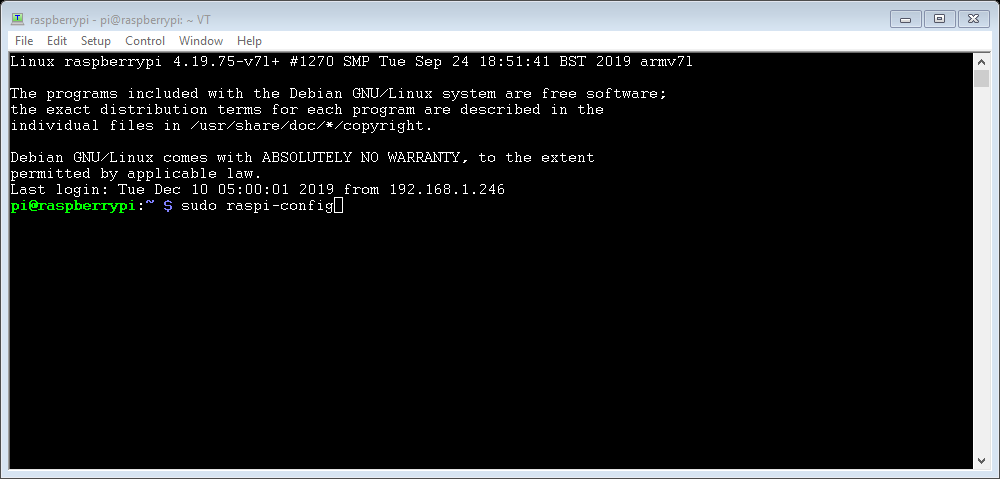
sudo raspi-config and press enter.
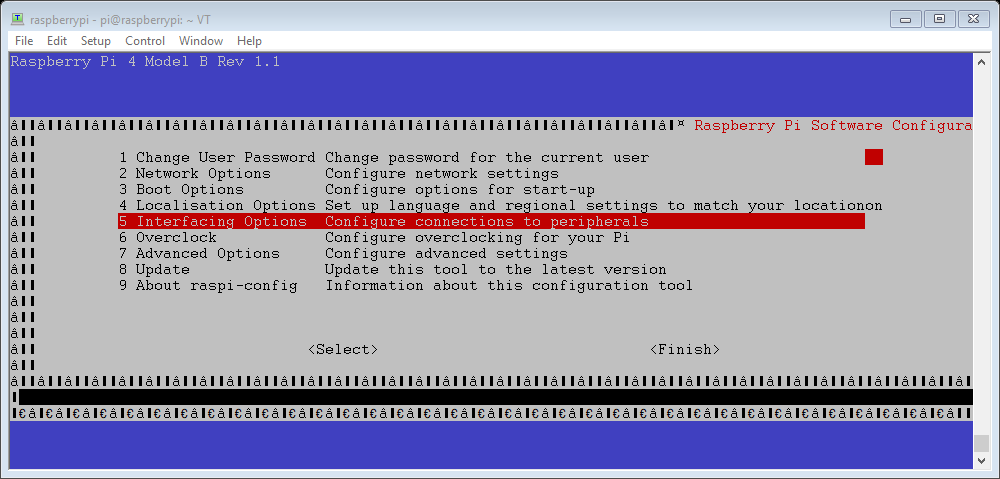
Using your keyboards arrow keys, select ‘5 Interfacing Options’ and press enter.
Scroll down to ‘P5 I2C’ and press enter.
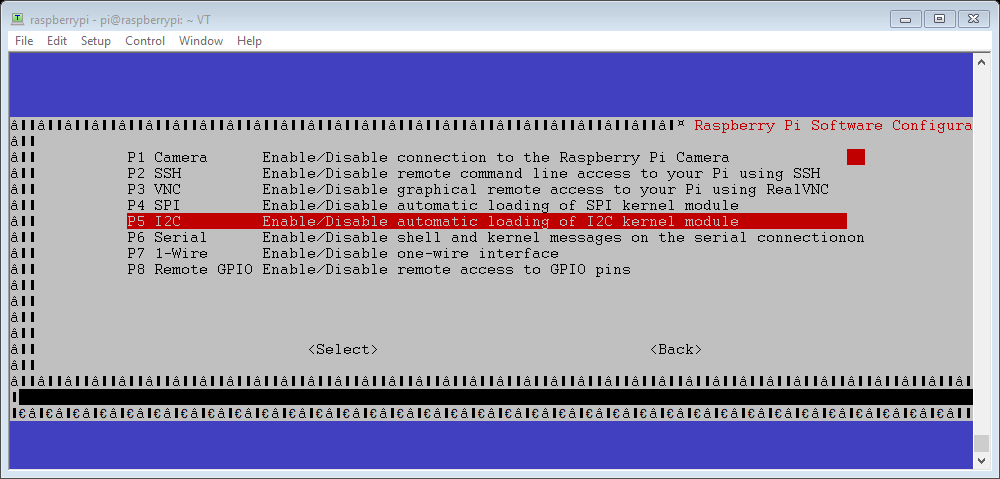
Then select ‘<Yes>’ and press enter to enable the I2C interface for the ZIO QWIIC ecosystem.

Select ‘<Ok>’ and ‘<Finish>’ to return to the terminal.
Step 3 Download python script
Whilst still in the terminal type:
sudo git clone https://github.com/machineshopuk/PM1.0-2.5-10

This will generate a folder called 2-5PM, enter it by typing:
cd PM1.0-2.5-10
Then run the script by typing:
python 2-5PM.py
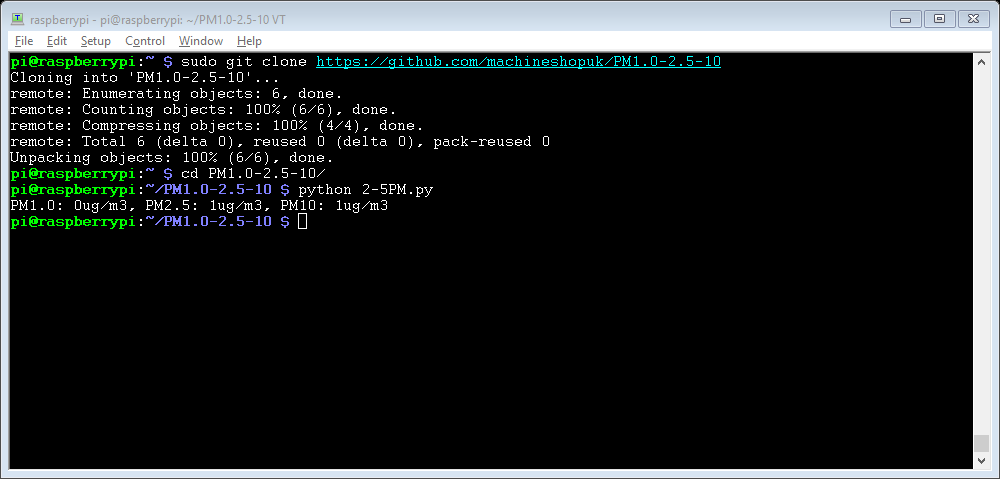
The script will output PM1, PM2.5 and PM10 values to the terminal in µg/m3.